
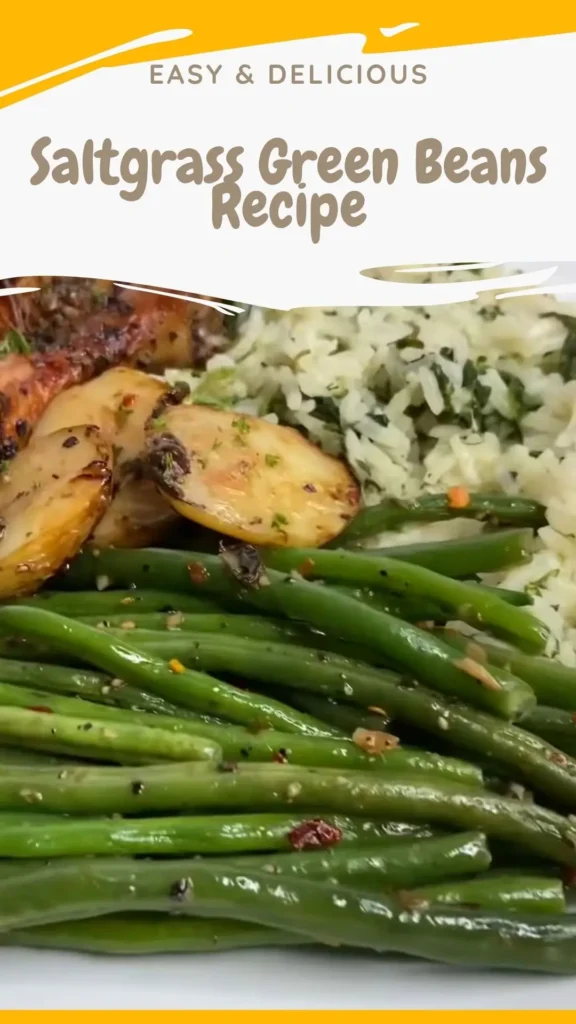
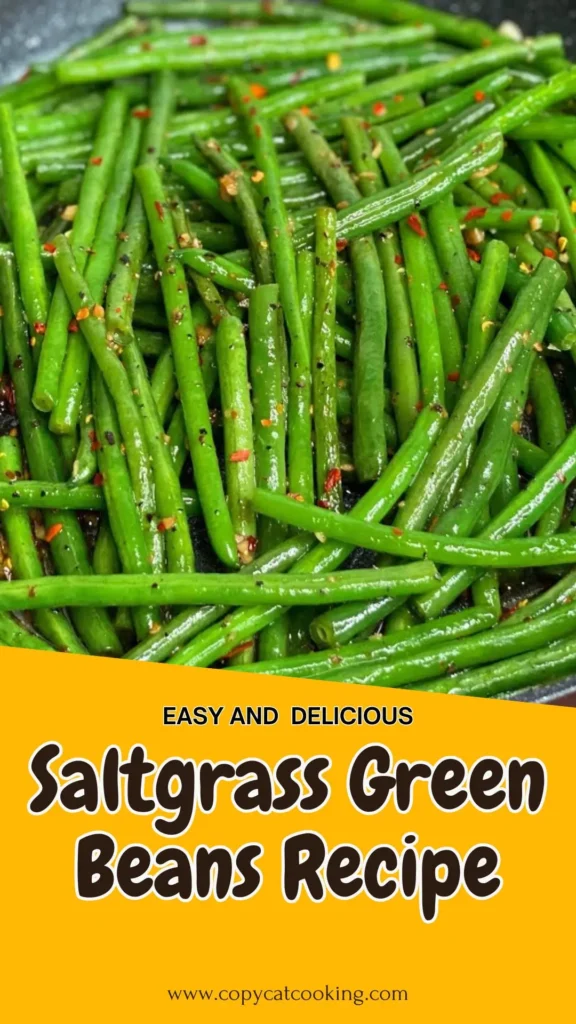
Craving those famous Saltgrass green beans you can’t stop thinking about? You’re in the right place! This flash fried green beans Saltgrass copycat recipe brings that steakhouse magic straight to your kitchen.
With perfectly blistered beans, garlicky goodness, and a subtle kick of heat, these Saltgrass flash fried green beans are crispy on the outside, tender on the inside, and absolutely addictive.
Whether you’re planning a weeknight dinner or impressing guests, this salt grass green beans recipe delivers restaurant-quality results in under 15 minutes. Let’s get cooking!
What Does Saltgrass flash fried green beans Taste Like?
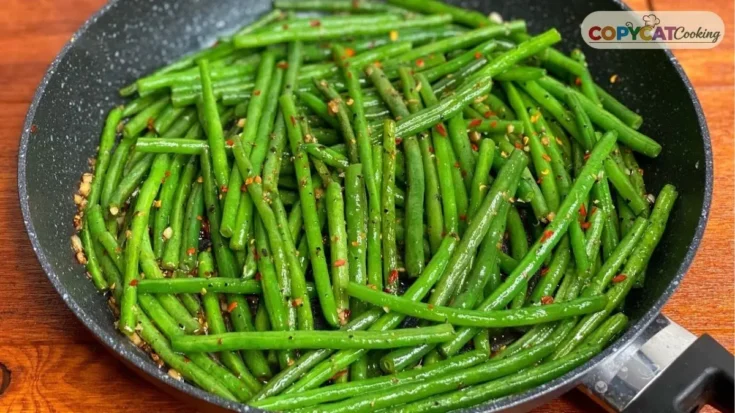
These Saltgrass green beans are a flavor explosion! Imagine crisp-tender beans with caramelized, slightly charred edges that add a smoky depth. The fresh garlic infuses every bite with aromatic punch, while red pepper flakes bring gentle heat that warms your palate without overwhelming it.
Black pepper adds a bold, earthy kick, and the quick sear creates natural sweetness from the beans themselves. It’s savory, garlicky, subtly spicy, and perfectly balanced-just like biting into those famous flash fried green beans Saltgrass serves at their steakhouse.
The texture is what really sets them apart: crispy exterior meets tender snap.
Saltgrass Green Beans Recipe Ingredients You’ll Need
For the Green Beans:
- 1 pound fresh green beans (trimmed)
- 1 tablespoon olive oil (extra-virgin preferred)
- 2 cloves garlic (freshly chopped)
- ½ teaspoon red pepper flakes
- 1 teaspoon black pepper (freshly ground recommended)
- ½ teaspoon salt (kosher or table salt)
- 2 tablespoons water
Kitchen Utensils
- Large skillet or sauté pan (cast iron works beautifully)
- Tongs or spatula
- Knife and cutting board
- Measuring spoons
Preparation and Cooking Time
Prep Time: 5 minutes
Cook Time: 13 minutes
Total Time: 18 minutes
Servings: 4 side portions
How to Make Saltgrass Flash Fried Green Beans
Step 1: Heat Your Skillet
Grab your skillet and pour in 1 tablespoon of olive oil. Set the stove to medium-high heat. Let the oil get nice and hot-it should shimmer a bit but not smoke. This takes about a minute. Proper heat is crucial for achieving those signature blistered spots on your Saltgrass green beans.
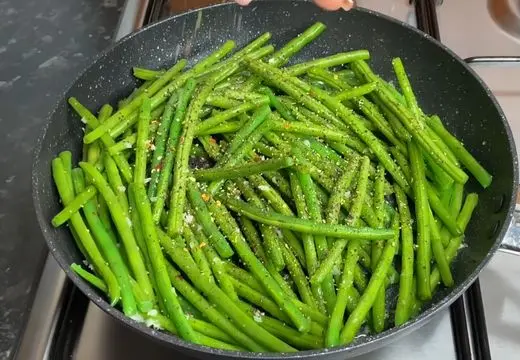
Step 2: Sear the Green Beans
Add the 1 pound of green beans to the hot skillet. Sprinkle ½ teaspoon of salt over them. Let them cook for about 4 minutes, tossing occasionally with tongs. You want some blistered, slightly charred spots for that authentic restaurant-style flavor. Don’t stir too frequently-let them develop color!

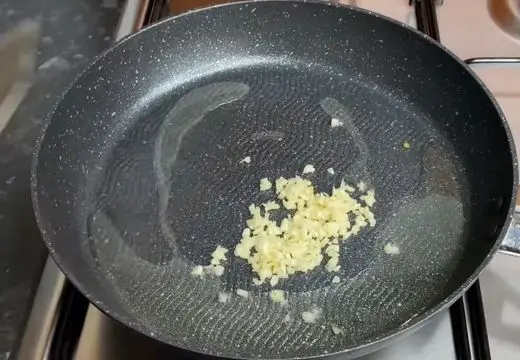
Step 3: Add the Aromatics
Toss in the 2 chopped garlic cloves, ½ teaspoon red pepper flakes, and 1 teaspoon black pepper. Stir well to coat the beans evenly. Be careful not to burn the garlic-it can turn bitter if it browns too much. Cook for another 4 minutes, stirring now and then to distribute the seasonings.
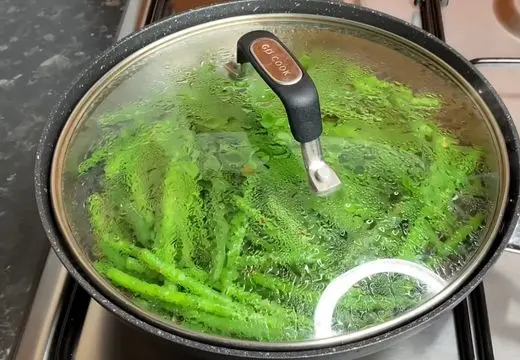
Step 4: Steam to Perfection
Pour in 2 tablespoons of water. This creates a little steam to soften the beans just enough while maintaining that crisp texture. Keep cooking for about 5 more minutes until the water evaporates and the beans are tender but still have a satisfying snap.
Step 5: Taste and Serve
Taste a bean to make sure it’s perfect-crisp, tender, and full of flavor. If it’s good, you’re done! If not, cook for another minute or two. Serve hot right from the skillet for the best experience.

Customization and Pairing Ideas for Saltgrass Green Beans
1. Asian-Inspired Twist
Transform your flash fried green beans Saltgrass style by adding 1 tablespoon of soy sauce and a teaspoon of sesame oil in the final minute. Top with toasted sesame seeds for an umami-rich variation that pairs beautifully with grilled salmon or teriyaki chicken.
2. Lemon Garlic Version
Squeeze fresh lemon juice over the beans right before serving and add extra minced garlic. The citrus brightness cuts through the richness and makes these perfect alongside grilled steak or roasted chicken-just like at the steakhouse!
3. Parmesan Crusted
Finish your Saltgrass flash fried green beans with freshly grated Parmesan cheese while they’re still hot. The cheese melts slightly and creates a savory, nutty coating that elevates the dish to gourmet status. Perfect with Italian entrees or pork chops.
4. Bacon Lovers’ Dream
Cook 3-4 strips of bacon until crispy, crumble them, and toss with the finished beans. Use the bacon fat instead of olive oil for extra smoky flavor. This indulgent version pairs exceptionally well with burgers, BBQ ribs or Soup.
5. Mediterranean Flair
Add halved cherry tomatoes and crumbled feta cheese in the last 2 minutes of cooking. The tomatoes soften slightly, and the feta adds creamy tanginess. Serve alongside grilled lamb or Mediterranean chicken for a complete meal.
6. Almond Crunch
Toast ¼ cup of sliced almonds and sprinkle them over the finished salt grass green beans. The nutty crunch adds textural contrast and makes this side dish feel extra special for dinner parties or holiday meals.
Expert Tips for Perfect Flash Fried Green Beans
1. Don’t Overcrowd the Pan
This is the biggest mistake home cooks make! If your skillet looks packed, the beans will steam instead of getting those beautiful charred spots.
Use a large skillet (12-inch works great), or cook in two batches. Proper spacing ensures each bean gets direct contact with the hot surface, creating that signature Saltgrass green beans texture.
2. Choose the Right Beans
Fresh, young green beans work best for this recipe. Look for bright green beans that are firm and snap cleanly when bent. Avoid limp or yellowing beans-they won’t develop the same crispy exterior. Haricots verts (French green beans) are thinner and cook even faster, making them an excellent alternative for flash fried green beans Saltgrass style.
3. Dry Your Beans Thoroughly
Moisture is the enemy of a good sear! After washing your green beans, pat them completely dry with paper towels or a clean kitchen towel. Even a little water will cause splattering and prevent proper caramelization. This step is especially important if using thawed frozen beans.
4. Get Your Pan Screaming Hot
Medium-high heat isn’t a suggestion-it’s essential! Your pan needs to be hot enough that the oil shimmers but doesn’t smoke. Test by adding one bean; it should sizzle immediately. This high heat creates the blistered, slightly charred spots that give Saltgrass flash fried green beans their distinctive appearance and flavor.
5. Timing is Everything with Garlic
Add garlic after the initial sear, not at the beginning. Raw garlic in hot oil burns quickly and turns bitter, ruining the whole dish. By adding it after the beans have developed color, the garlic becomes fragrant and golden without crossing into burnt territory. Keep stirring once it’s in!
Storage and Reheating Guidance
Store leftover Saltgrass green beans in an airtight container in the refrigerator for up to 3 days. Reheat in a hot skillet for 2-3 minutes to restore crispiness-avoid the microwave, which makes them soggy. You can also enjoy them cold in salads!
Saltgrass Green Beans Recipe
Craving those famous Saltgrass green beans you can’t stop thinking about? You’re in the right place! This flash fried green beans Saltgrass copycat recipe brings that steakhouse magic straight to your kitchen.
Ingredients
- 1 pound fresh green beans, trimmed
- 1 tablespoon olive oil, extra-virgin preferred
- 2 cloves garlic, freshly chopped
- ½ teaspoon red pepper flakes
- 1 teaspoon black pepper, freshly ground recommended
- ½ teaspoon salt, kosher or table salt
- 2 tablespoons water
Instructions
Grab your skillet and pour in 1 tablespoon of olive oil. Set the stove to medium-high heat. Let the oil get nice and hot-it should shimmer a bit but not smoke. This takes about a minute. Proper heat is crucial for achieving those signature blistered spots on your Saltgrass green beans.
Add the 1 pound of green beans to the hot skillet. Sprinkle ½ teaspoon of salt over them. Let them cook for about 4 minutes, tossing occasionally with tongs. You want some blistered, slightly charred spots for that authentic restaurant-style flavor. Don’t stir too frequently-let them develop color!
Toss in the 2 chopped garlic cloves, ½ teaspoon red pepper flakes, and 1 teaspoon black pepper. Stir well to coat the beans evenly. Be careful not to burn the garlic-it can turn bitter if it browns too much. Cook for another 4 minutes, stirring now and then to distribute the seasonings.
Pour in 2 tablespoons of water. This creates a little steam to soften the beans just enough while maintaining that crisp texture. Keep cooking for about 5 more minutes until the water evaporates and the beans are tender but still have a satisfying snap.
Taste a bean to make sure it’s perfect-crisp, tender, and full of flavor. If it’s good, you’re done! If not, cook for another minute or two. Serve hot right from the skillet for the best experience.
Notes
Store leftover Saltgrass green beans in an airtight container in the refrigerator for up to 3 days. Reheat in a hot skillet for 2-3 minutes to restore crispiness-avoid the microwave, which makes them soggy. You can also enjoy them cold in salads!
Nutrition Information:
Yield:
4Serving Size:
1Amount Per Serving: Calories: 135Unsaturated Fat: 0g
Common Queries and FAQs
Here, we’ve got you covered with some common questions about this Recipe that people often ask.
Q: Can I use frozen green beans for this Saltgrass green beans recipe?
A: Yes! Thaw them completely and pat them bone-dry with paper towels before cooking. Frozen beans contain more moisture, so expect slightly longer cooking time to achieve the crispy texture.
Q: What makes these flash fried green beans different from regular sautéed beans?
A: The high heat creates blistered, charred spots that add smoky flavor and crispy texture. The quick cooking method keeps the interior tender-crisp, unlike traditional boiled or steamed beans that can become mushy.
Q: How spicy are these Saltgrass flash fried green beans?
A: They have a gentle warmth, not overwhelming heat. The ½ teaspoon of red pepper flakes provides subtle kick. For milder beans, reduce to ¼ teaspoon or omit entirely. For more heat, increase to ¾ teaspoon or add cayenne pepper.
Q: Can I make salt grass green beans ahead of time?
A: These are best served immediately for optimal texture. However, you can trim and prep the beans up to 24 hours in advance. Store them in the refrigerator in a sealed container, then cook right before serving.
Q: What’s the best type of skillet for flash frying green beans?
A: Cast iron or stainless steel skillets work best because they retain high heat and create excellent searing. Avoid nonstick pans for this recipe-they don’t get hot enough to achieve proper charring.
Q: My green beans turned out too soft. What went wrong?
A: You likely cooked them too long or at too low a temperature. Reduce cooking time by 2-3 minutes and ensure your pan is properly heated. The beans should be tender-crisp, not fully soft.
Q: Can I add other vegetables to this recipe?
A: Absolutely! Snap peas, asparagus, or broccolini work wonderfully with this same method. Adjust cooking times based on the vegetable’s thickness-thinner vegetables need less time.
There you have it-restaurant-quality Saltgrass green beans right from your own kitchen! This flash fried green beans Saltgrass copycat recipe proves that steakhouse sides don’t need to stay at the steakhouse.
With simple ingredients, quick cooking, and those pro tips, you’ll create perfectly blistered, garlicky beans every single time. Whether it’s a weeknight side or special occasion, these Saltgrass flash fried green beans never disappoint.
Give this recipe a try tonight, and don’t forget to share your results in the comments below. Happy cooking!
Be sure to follow CopyCat Cooking on Pinterest and YouTube for more delicious recipe inspiration. Your support and feedback mean everything to us!
Delicious